Resize images with Light Image Resizer is an easy task by following the tutorial described below-
What Light Image Resizer Can do?
- Do you need to resize your pictures?
- Convert them to another format?
- Add a border or watermark to your photos?
- Re-size a whole batch of photos?
How it works
1. First, download and install Light Image Resizer from the following link-

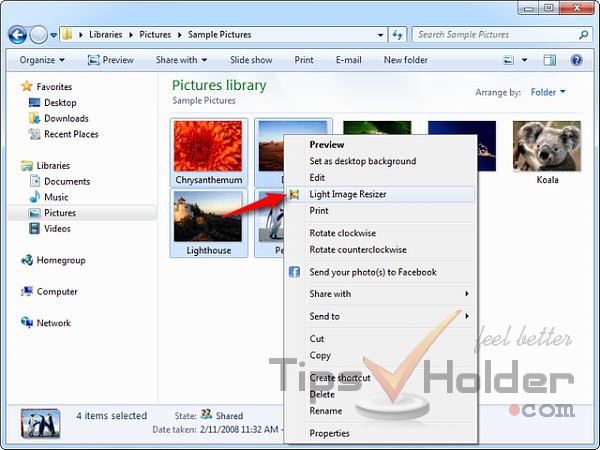
2. Select one or more pictures you want to re-size (also works with a folder containing lots of pictures), then right-click on the selected files. In the opening context menu choose Light Image Re-sizer:
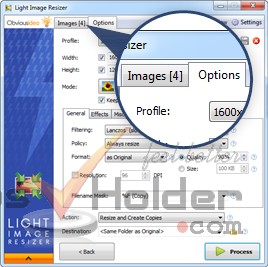
3. Now Light Image Resizer will open, and switch to the Options tab. If you want to add more pictures, just click on the Images tab (else continue to step 4):
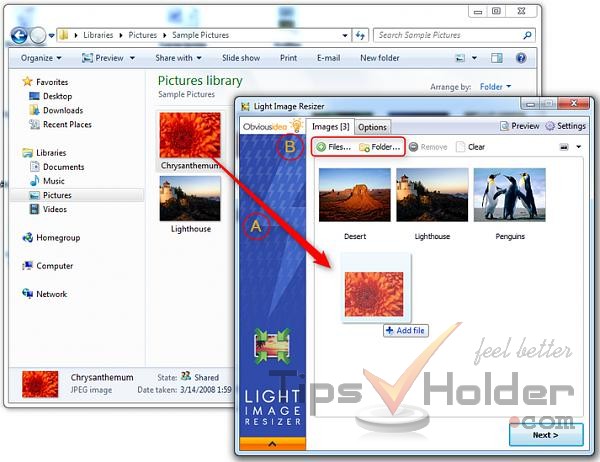
You can add additional pictures using drag and drop (A), or use the buttons (B) to add files or complete folders:
Once you have added all pictures to be processed, click the Next button, or Options tab.
4. On the Options tab, you can set your processing parameters.
5. Finally, Click on Process to start the resize operation.
Resizing pictures is as simple as that!